
How to safely Fell a Tree: What we've learned living off-grid
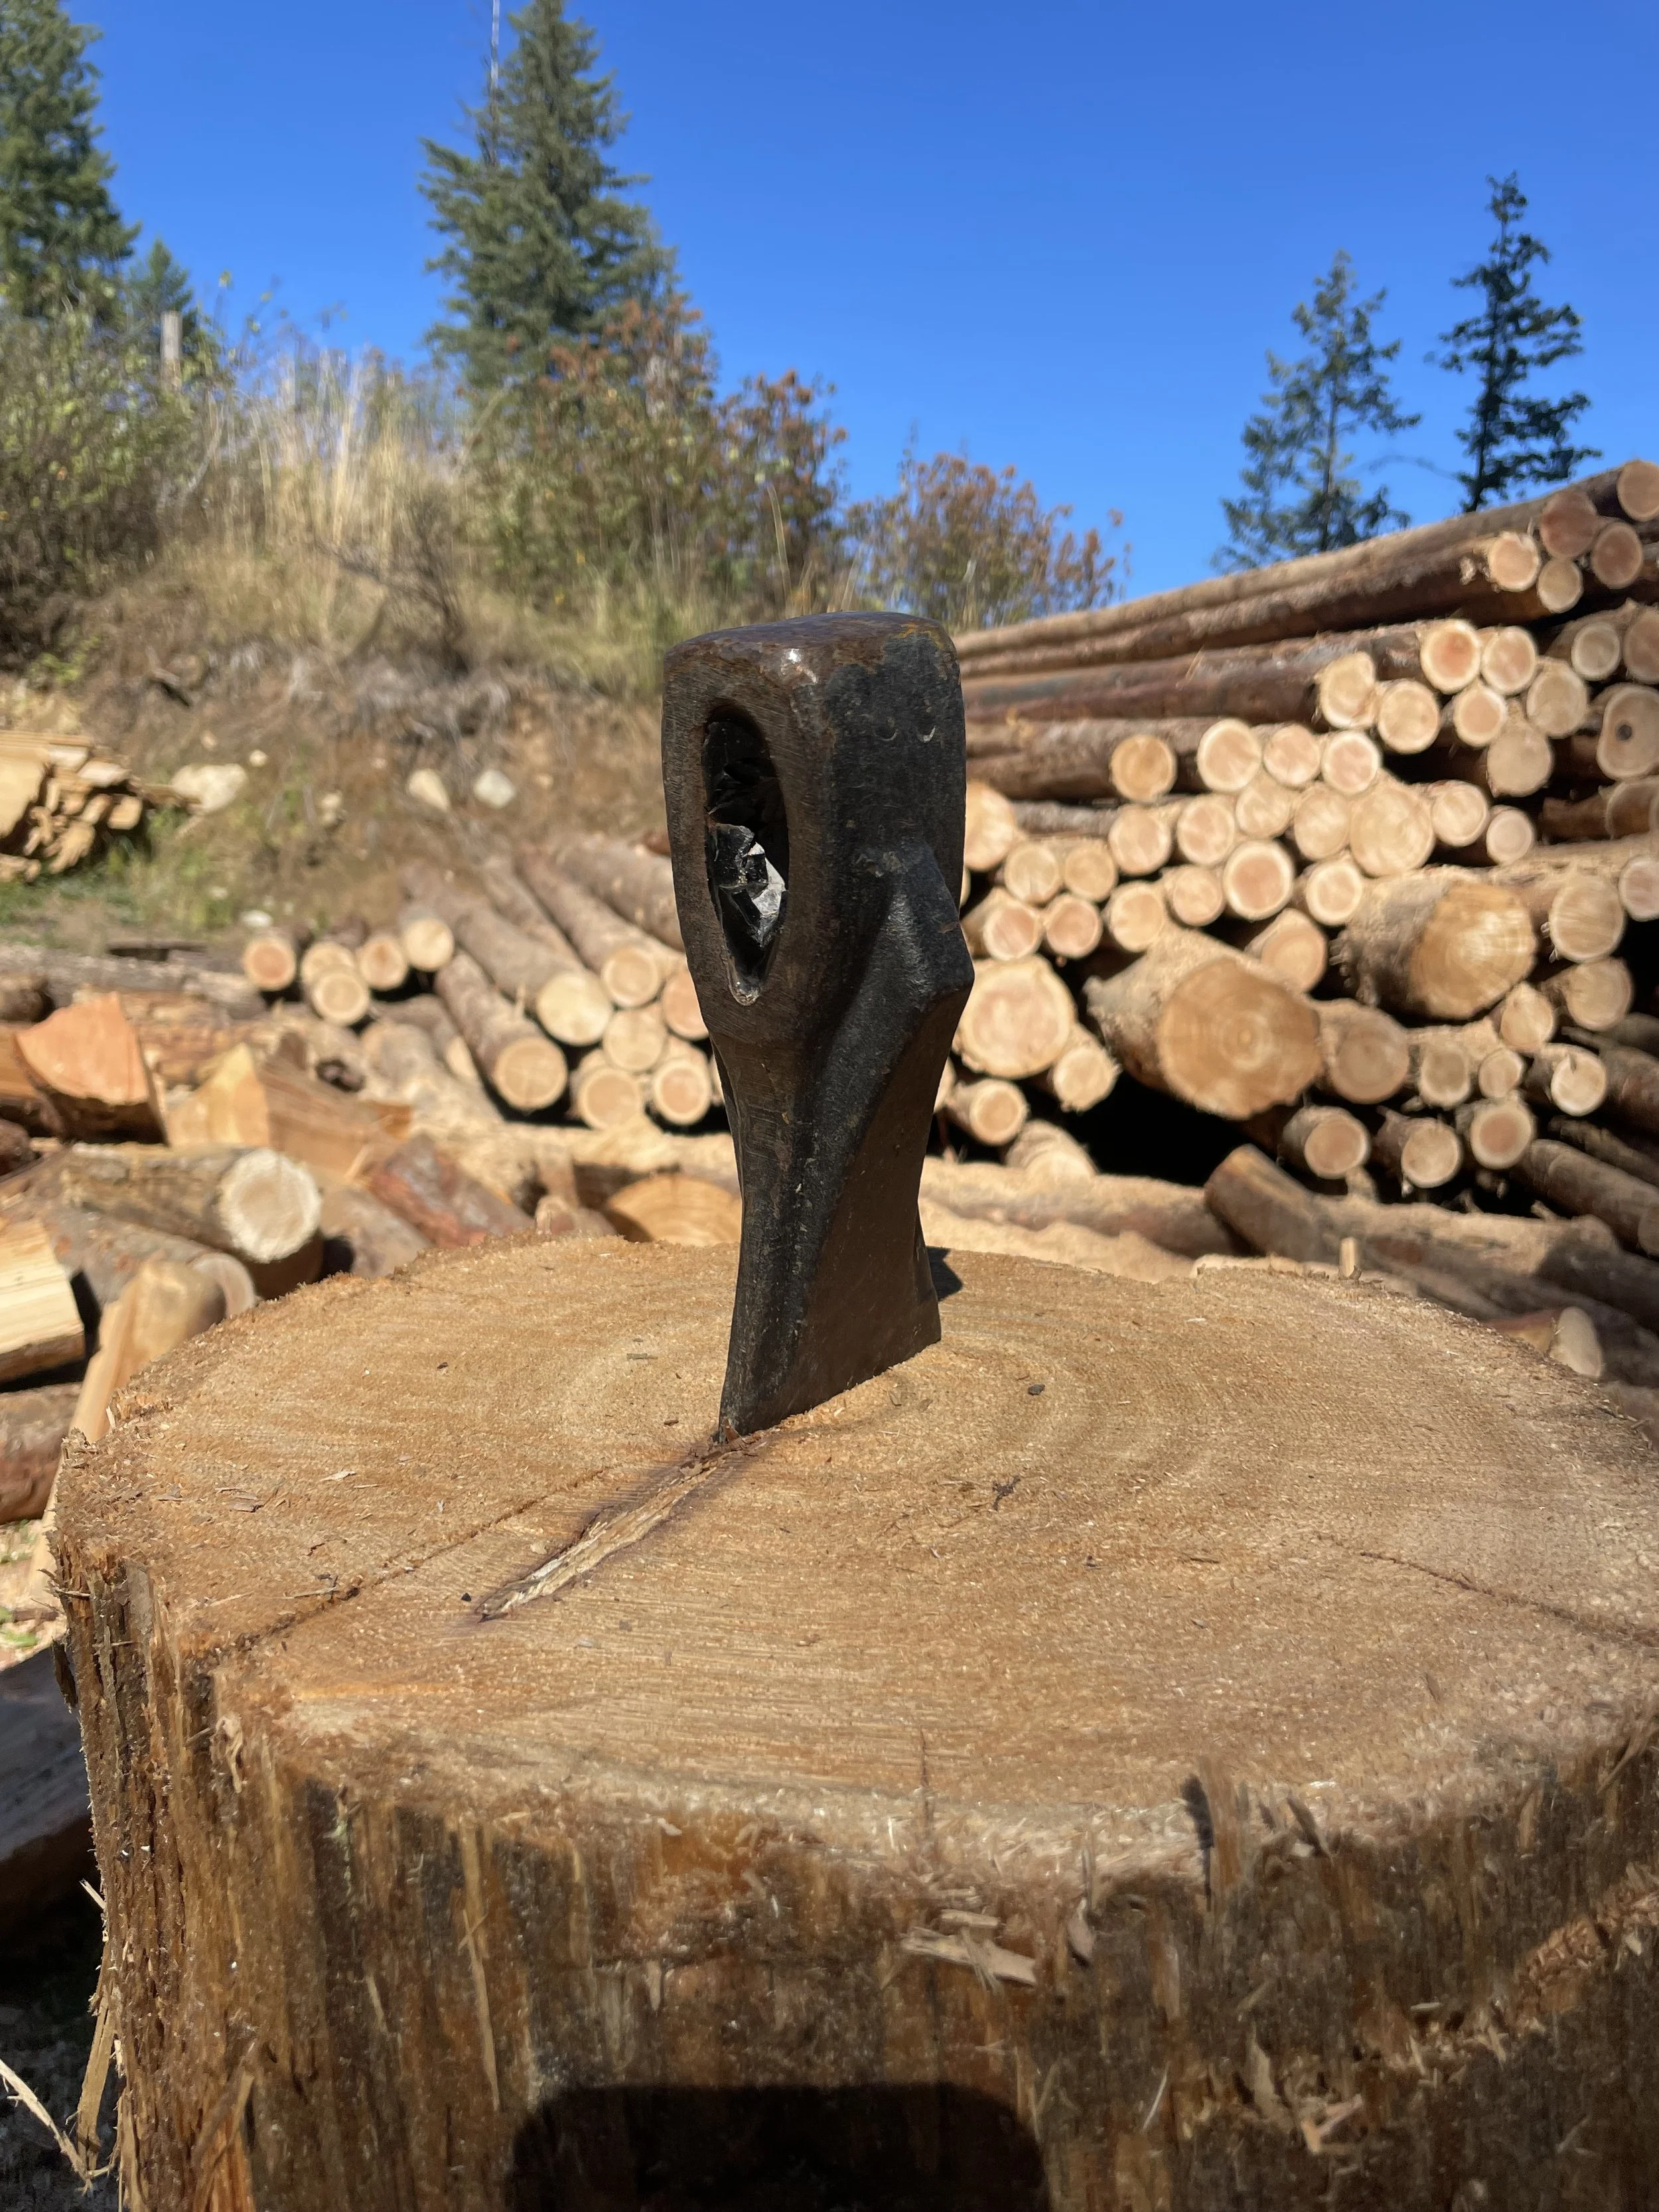
September is my favorite month of the year. The heat is gone, the nights start to get cooler and there is a crispness in the air. The fruit is getting ready to pick, our homeschool rhythm starts back up, and of course all the fall baking! There is a sense of rushing this month, as we anticipate the coming winter. Especially because we don't quite know when that first snow will fall. One of our biggest chores we have to get done this month is finish up our wood harvest for the season.
Almost every day is spent stacking a little bit at a time. We have to gather about 10 cords of wood to keep our off-grid home warm through the winter, and it's always nice to have a little extra just in case. Luckily, we haven't gone through all 10 cords in a season, however it's wise to have that buffer. Since the days are still beautiful, even though they are getting shorter, we take advantage not only to stack that wood, but to also clear out our woods.
Our home is surrounded by a thick forest, so we always try to do as much clean up in the forest as we can to prevent having to deal with a bigger problem come winter. Snow can be very heavy on trees and dead or weak trees break which can cause road blockages, trees falling near our animal structures and so on.
We like to remove any trees that have already fallen, or even fell some dead trees that look like they could be a problem. And of course a perk of clearing these trees is extra firewood for either our home or our sauna. We are by no means professional tree fellers, but there have been a lot of things that we have learned along the way on how to safely fell a tree on and around our property.
BEFORE YOU START THE CHAINSAW
It's always important to assess the tree you are wanting to fell. Are there any structures nearby? Are there any other larger trees that will prevent it from dropping in the right direction? What is the health of the tree? Is the tree leaning in a specific direction? How is the wind blowing? Are there any power lines close by?
All of these questions need to be carefully thought of and answered before starting any work. It's also important to know that if any of these conditions apply then it may not be safe for you to fell the tree without professional help.
KNOW WHEN A TREE IS BEYOND YOUR SKILL LEVEL
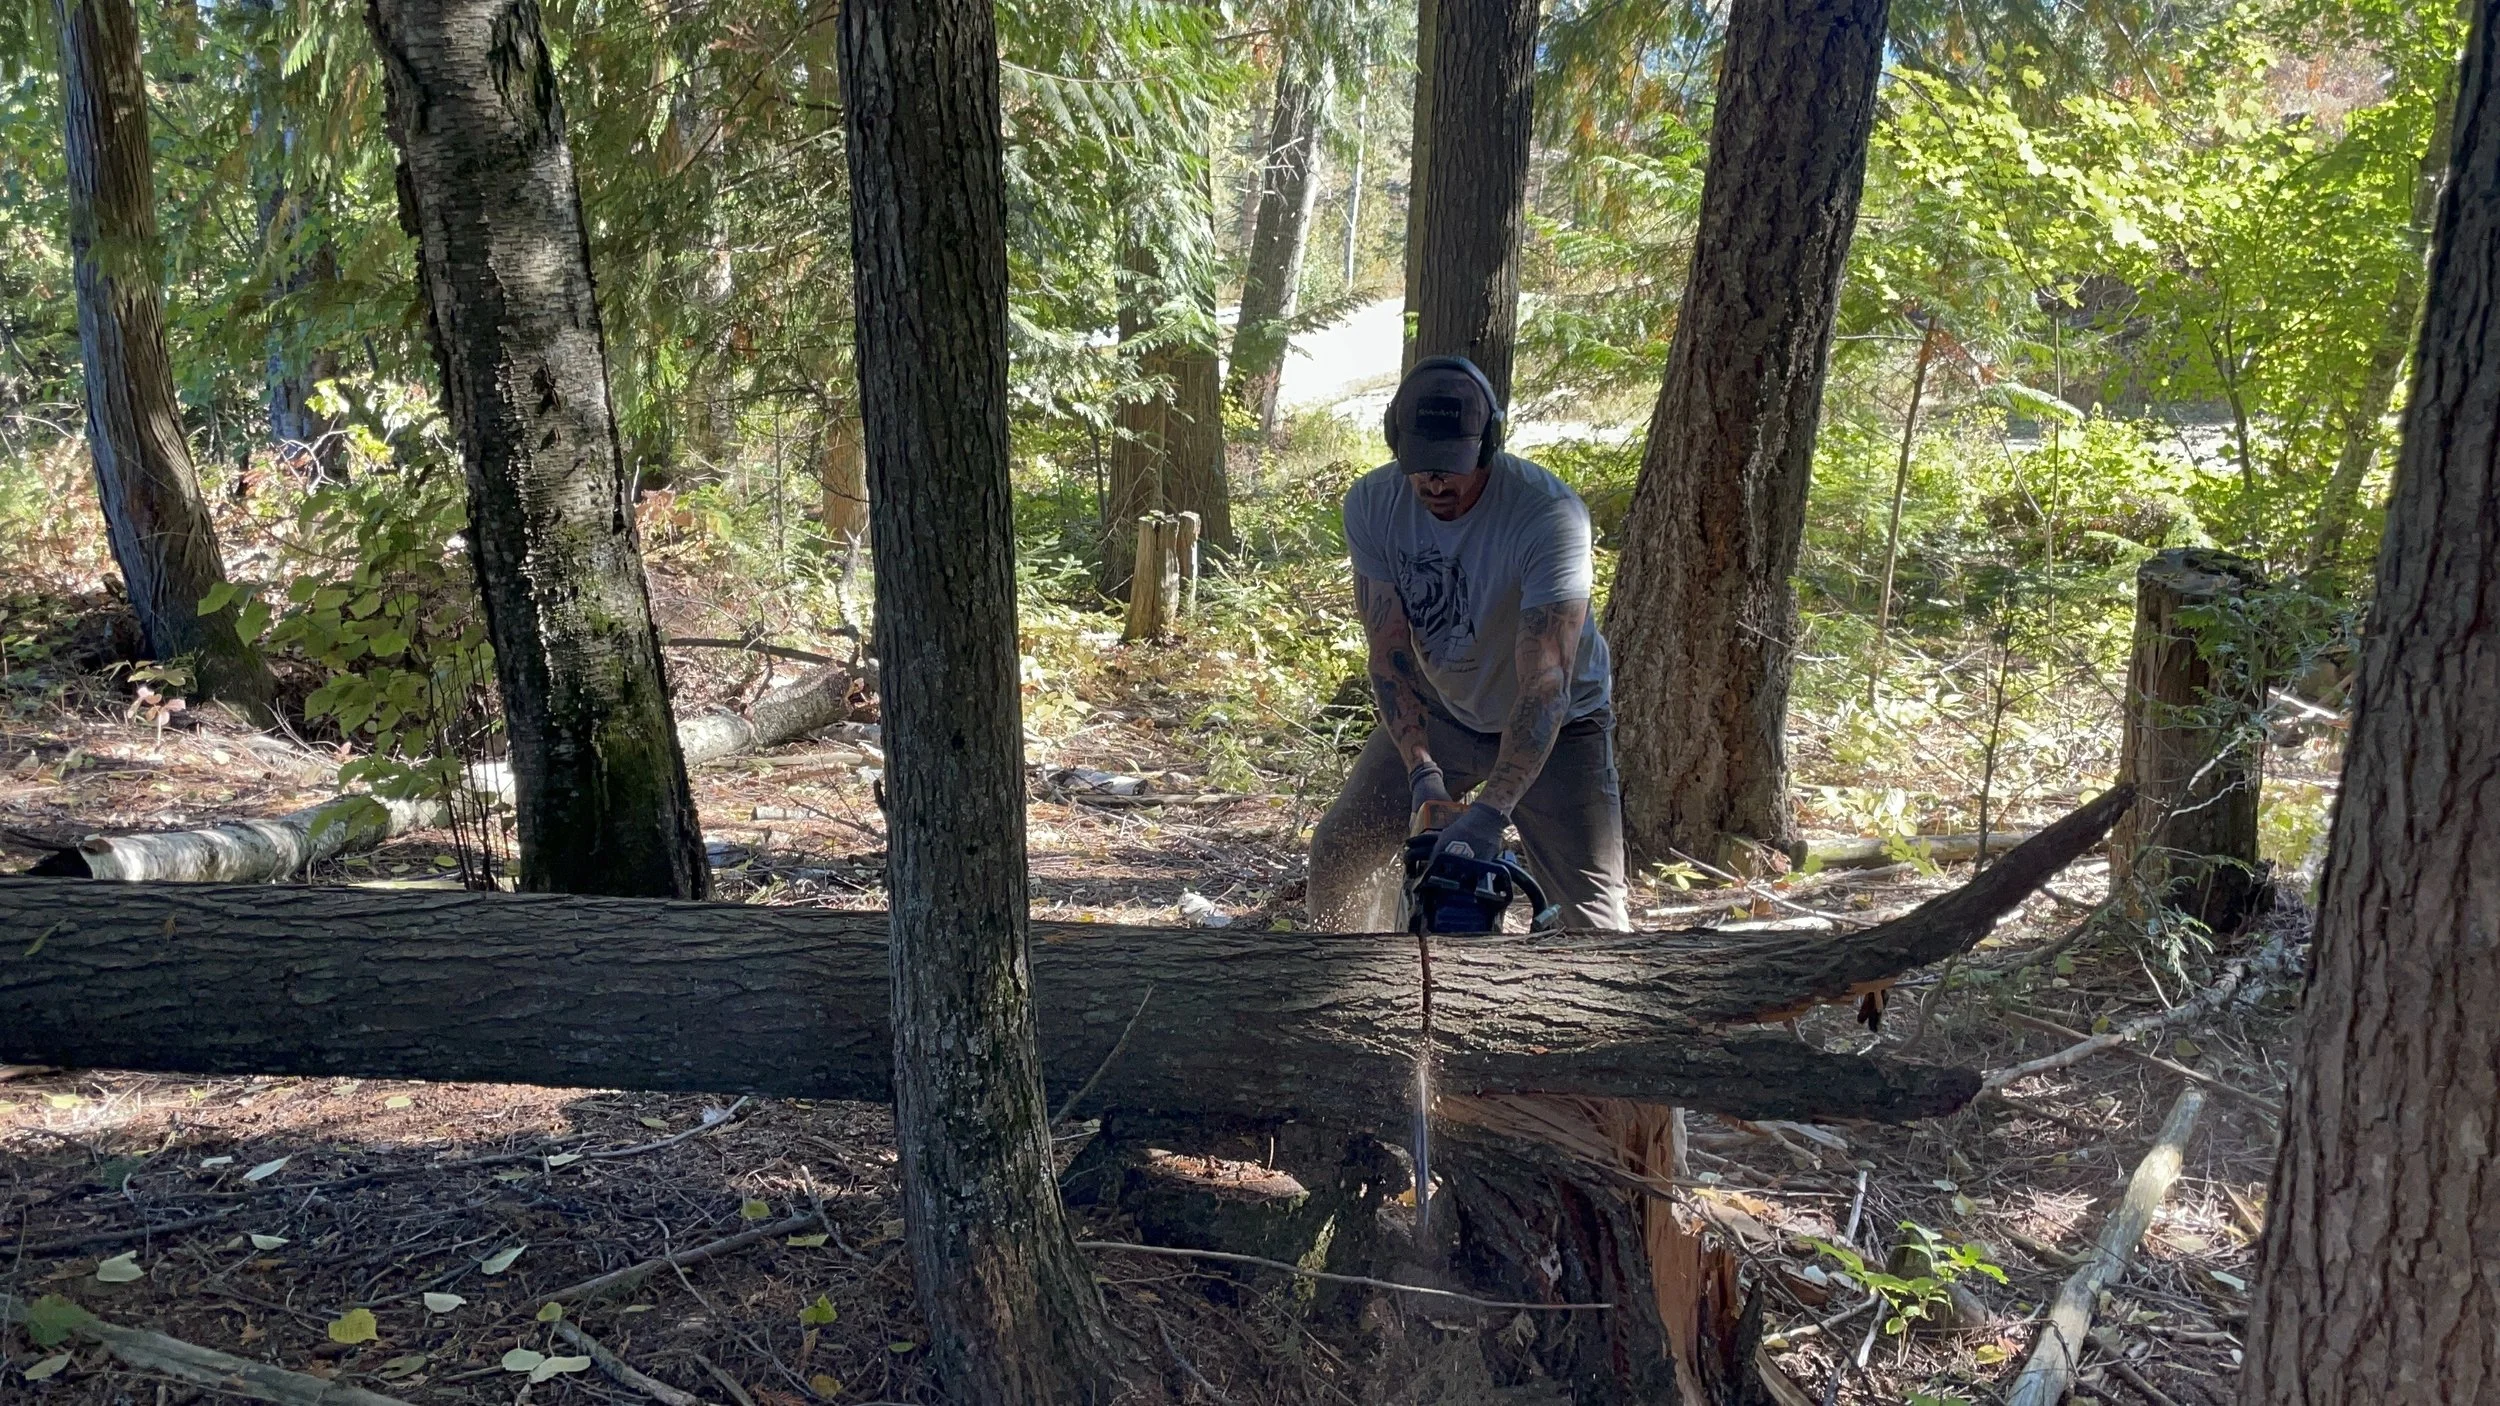
One of the most important things we have learned is that knowing how to fell a tree doesn't mean we should fell every one.
If there is tree that is too close to a structure, power lines, or has a difficult lean making it difficult for it to fall in the direction we are wanting it to, then it is best to just leave. There is no amount of firewood that is worth getting hurt over.
GET YOUR GEAR READY
With any job, it's important to have all the right tools. It’s especially important to have the correct safety equipment when you are felling a tree. Protective head gear, eye and ear protection, chaps are highly recommended, gloves, pants, and good work boots with good traction. Having a freshly sharpened chain for your chainsaw is important! It's also good to have extra bar oil and 2 stroke mixed fuel on stand by. Having an axe and a couple of wedges are always good to have for the unexpected stubborn tree.
THE GEAR WE USE
Stihl chainsaw products are, in my opinion, the best products for this sort of job. We run a Stihl 460 chainsaw with a 28 inch Rollomatic light bar with a skip chain. Skip chains are best for soft wood which is what we have up here in North Idaho. With this setup, we are capable of felling almost any size tree. With the light bar, I am also able to limb any tree without going to smaller saw. We also have a smaller Stihl chainsaw with a 16 inch bar that is good for heavily limbed trees.
You certainly don't need to use our exact set up for your job. The appropriate bar, saw, and chain are all dependent on the type of tree you are cutting and your experience level.
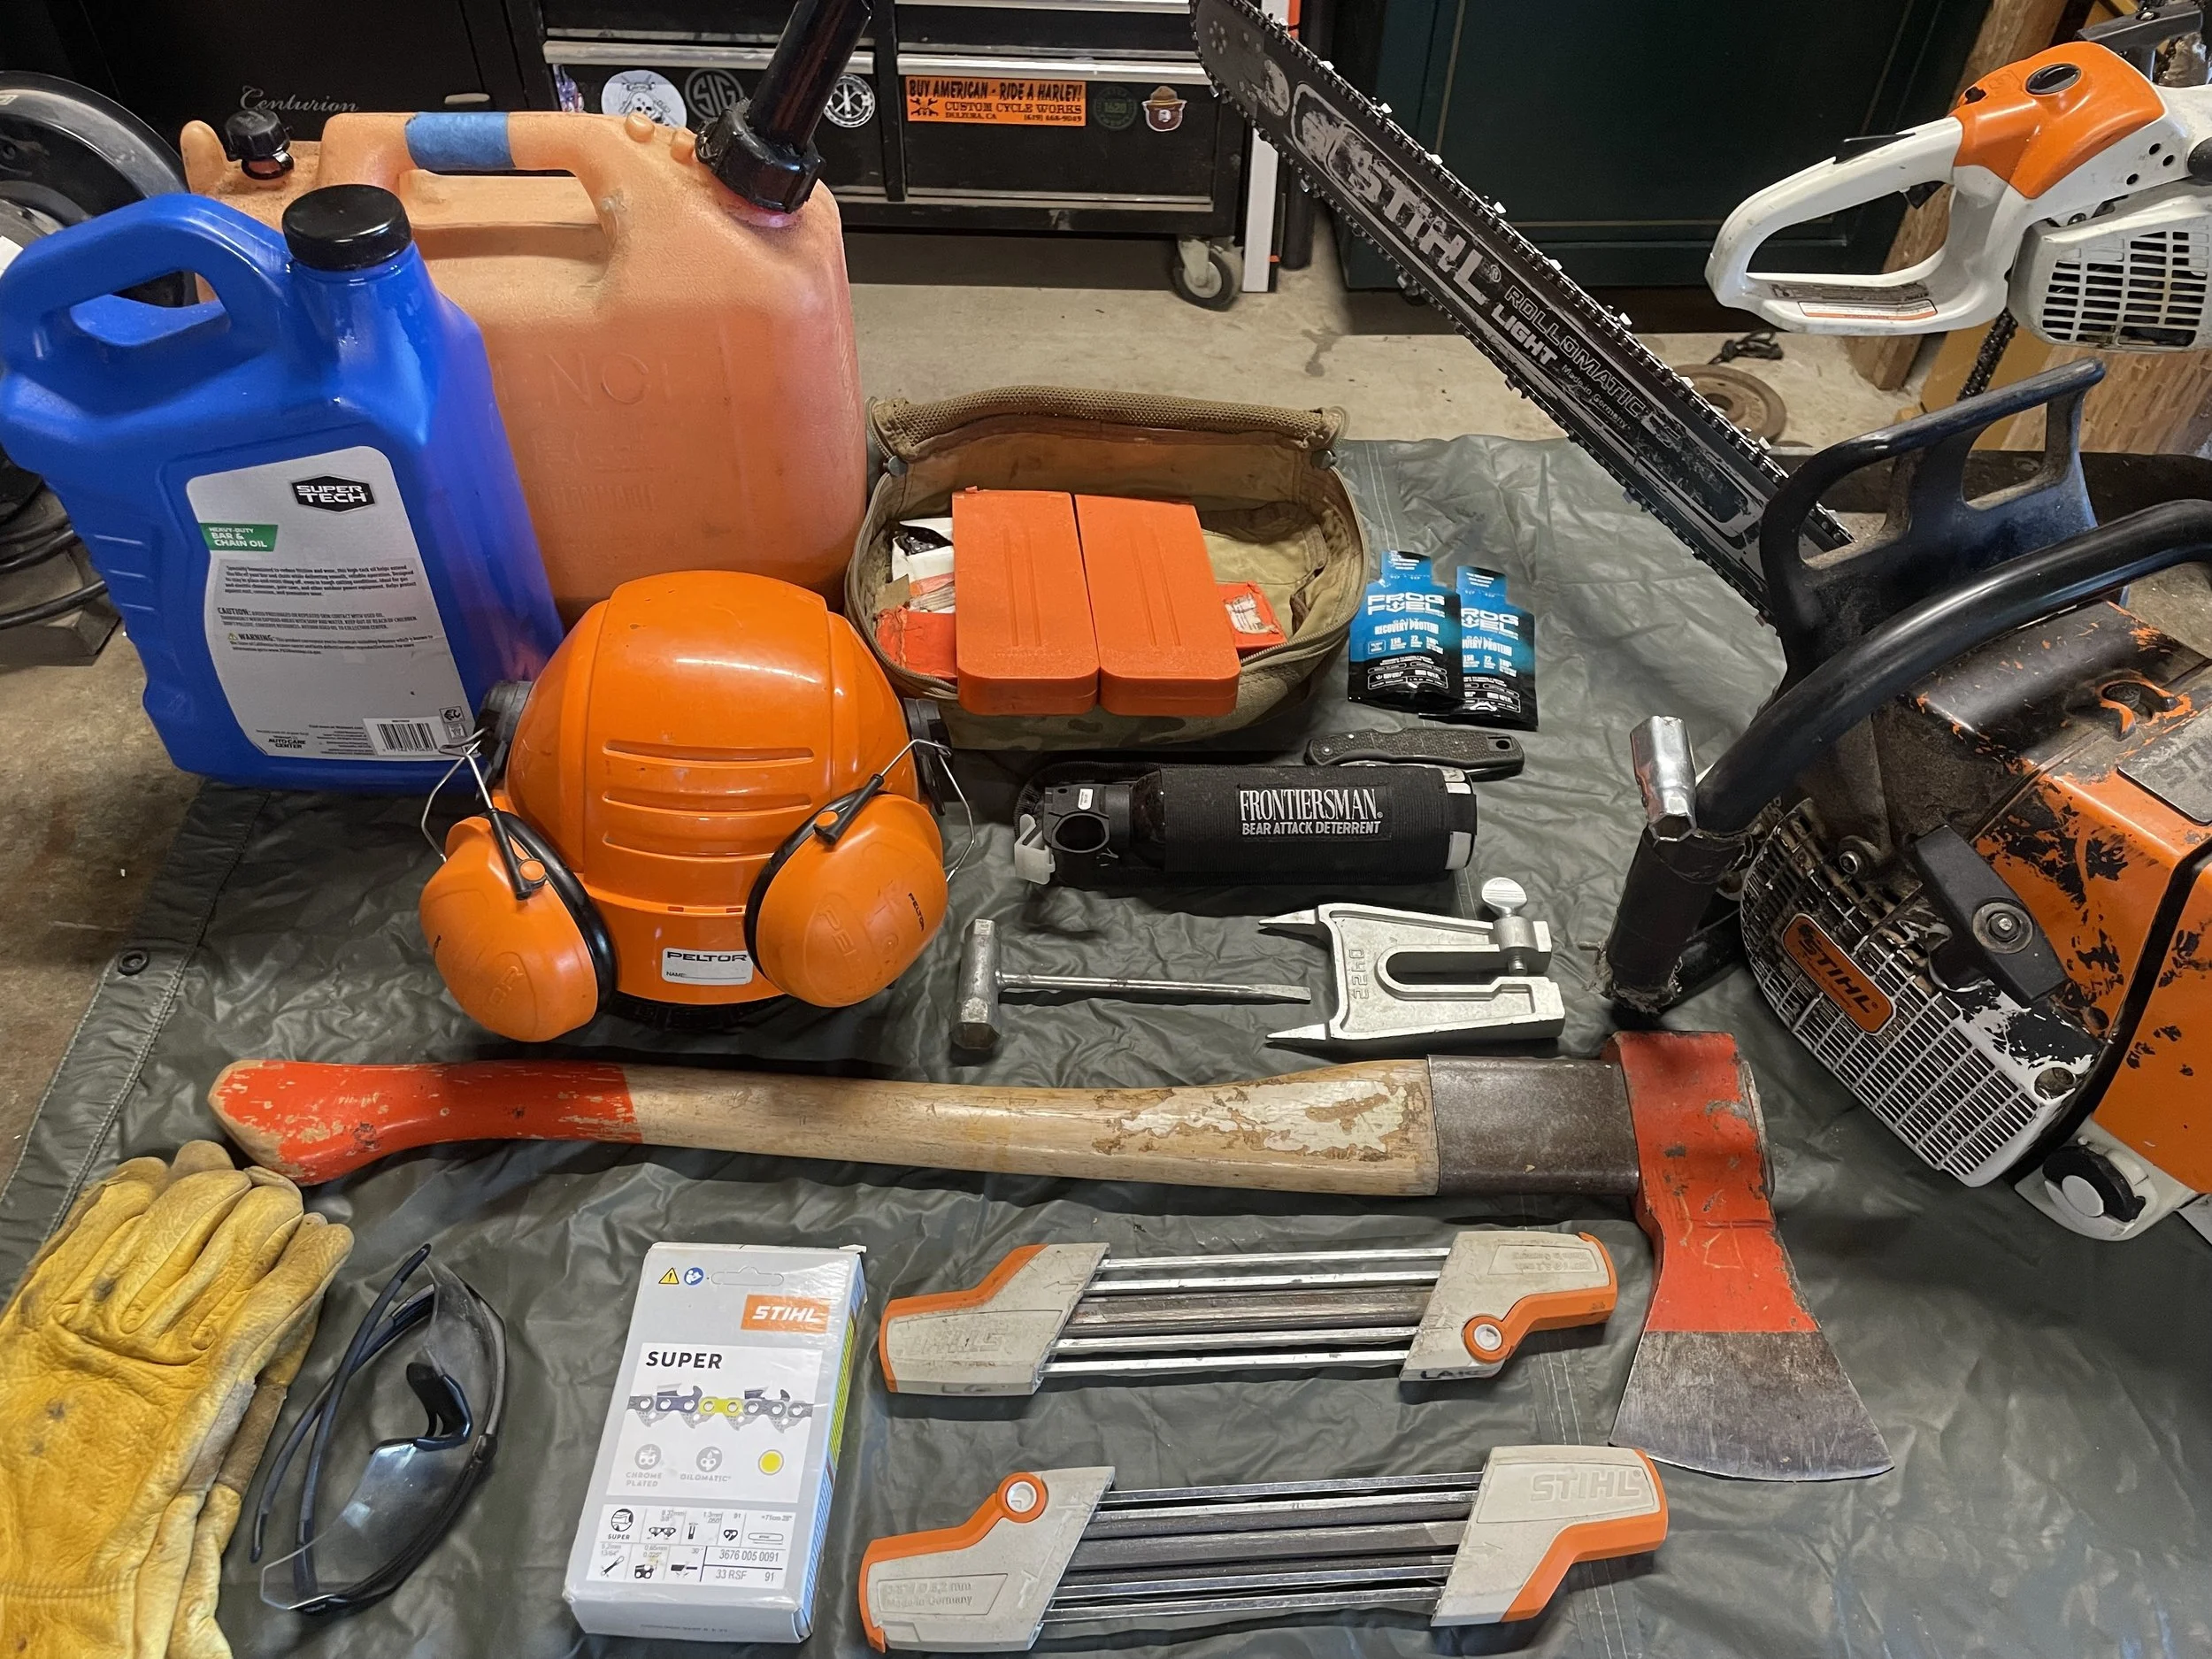
Here is a list of the specific gear we use for our property:
PLAN YOUR CUT
Once you've got your gear and have assessed that the tree is in fact safe to cut, its time to plan your cut. Check the natural lean of the tree. Clearly you will want the tree to fall in that direction if possible.
Next, have a path cleared out that you intend for the tree to fall. Clear any larger branches or anything that could be a hazard to the tree that you are trying to drop. Another path(s) you should clear is your escape route. You definitely don't want the path that is intended to get you out of danger to cause more harm than good. You don't want to discover a branch, hole or rock while you are trying to get to safety. It's also not a bad idea to have more than one way of getting out just in case the tree doesn't fall according to the plan.
Another thing to note is to make sure all of your helpers are in a safe location as well. Since our kids often help us with wood, I make sure the littles are nowhere near us when we are felling a tree. Since my bigger kids are learning the safety of this skill they are usually around but at a good safe distance away.
UNDERSTANDING THE CUT
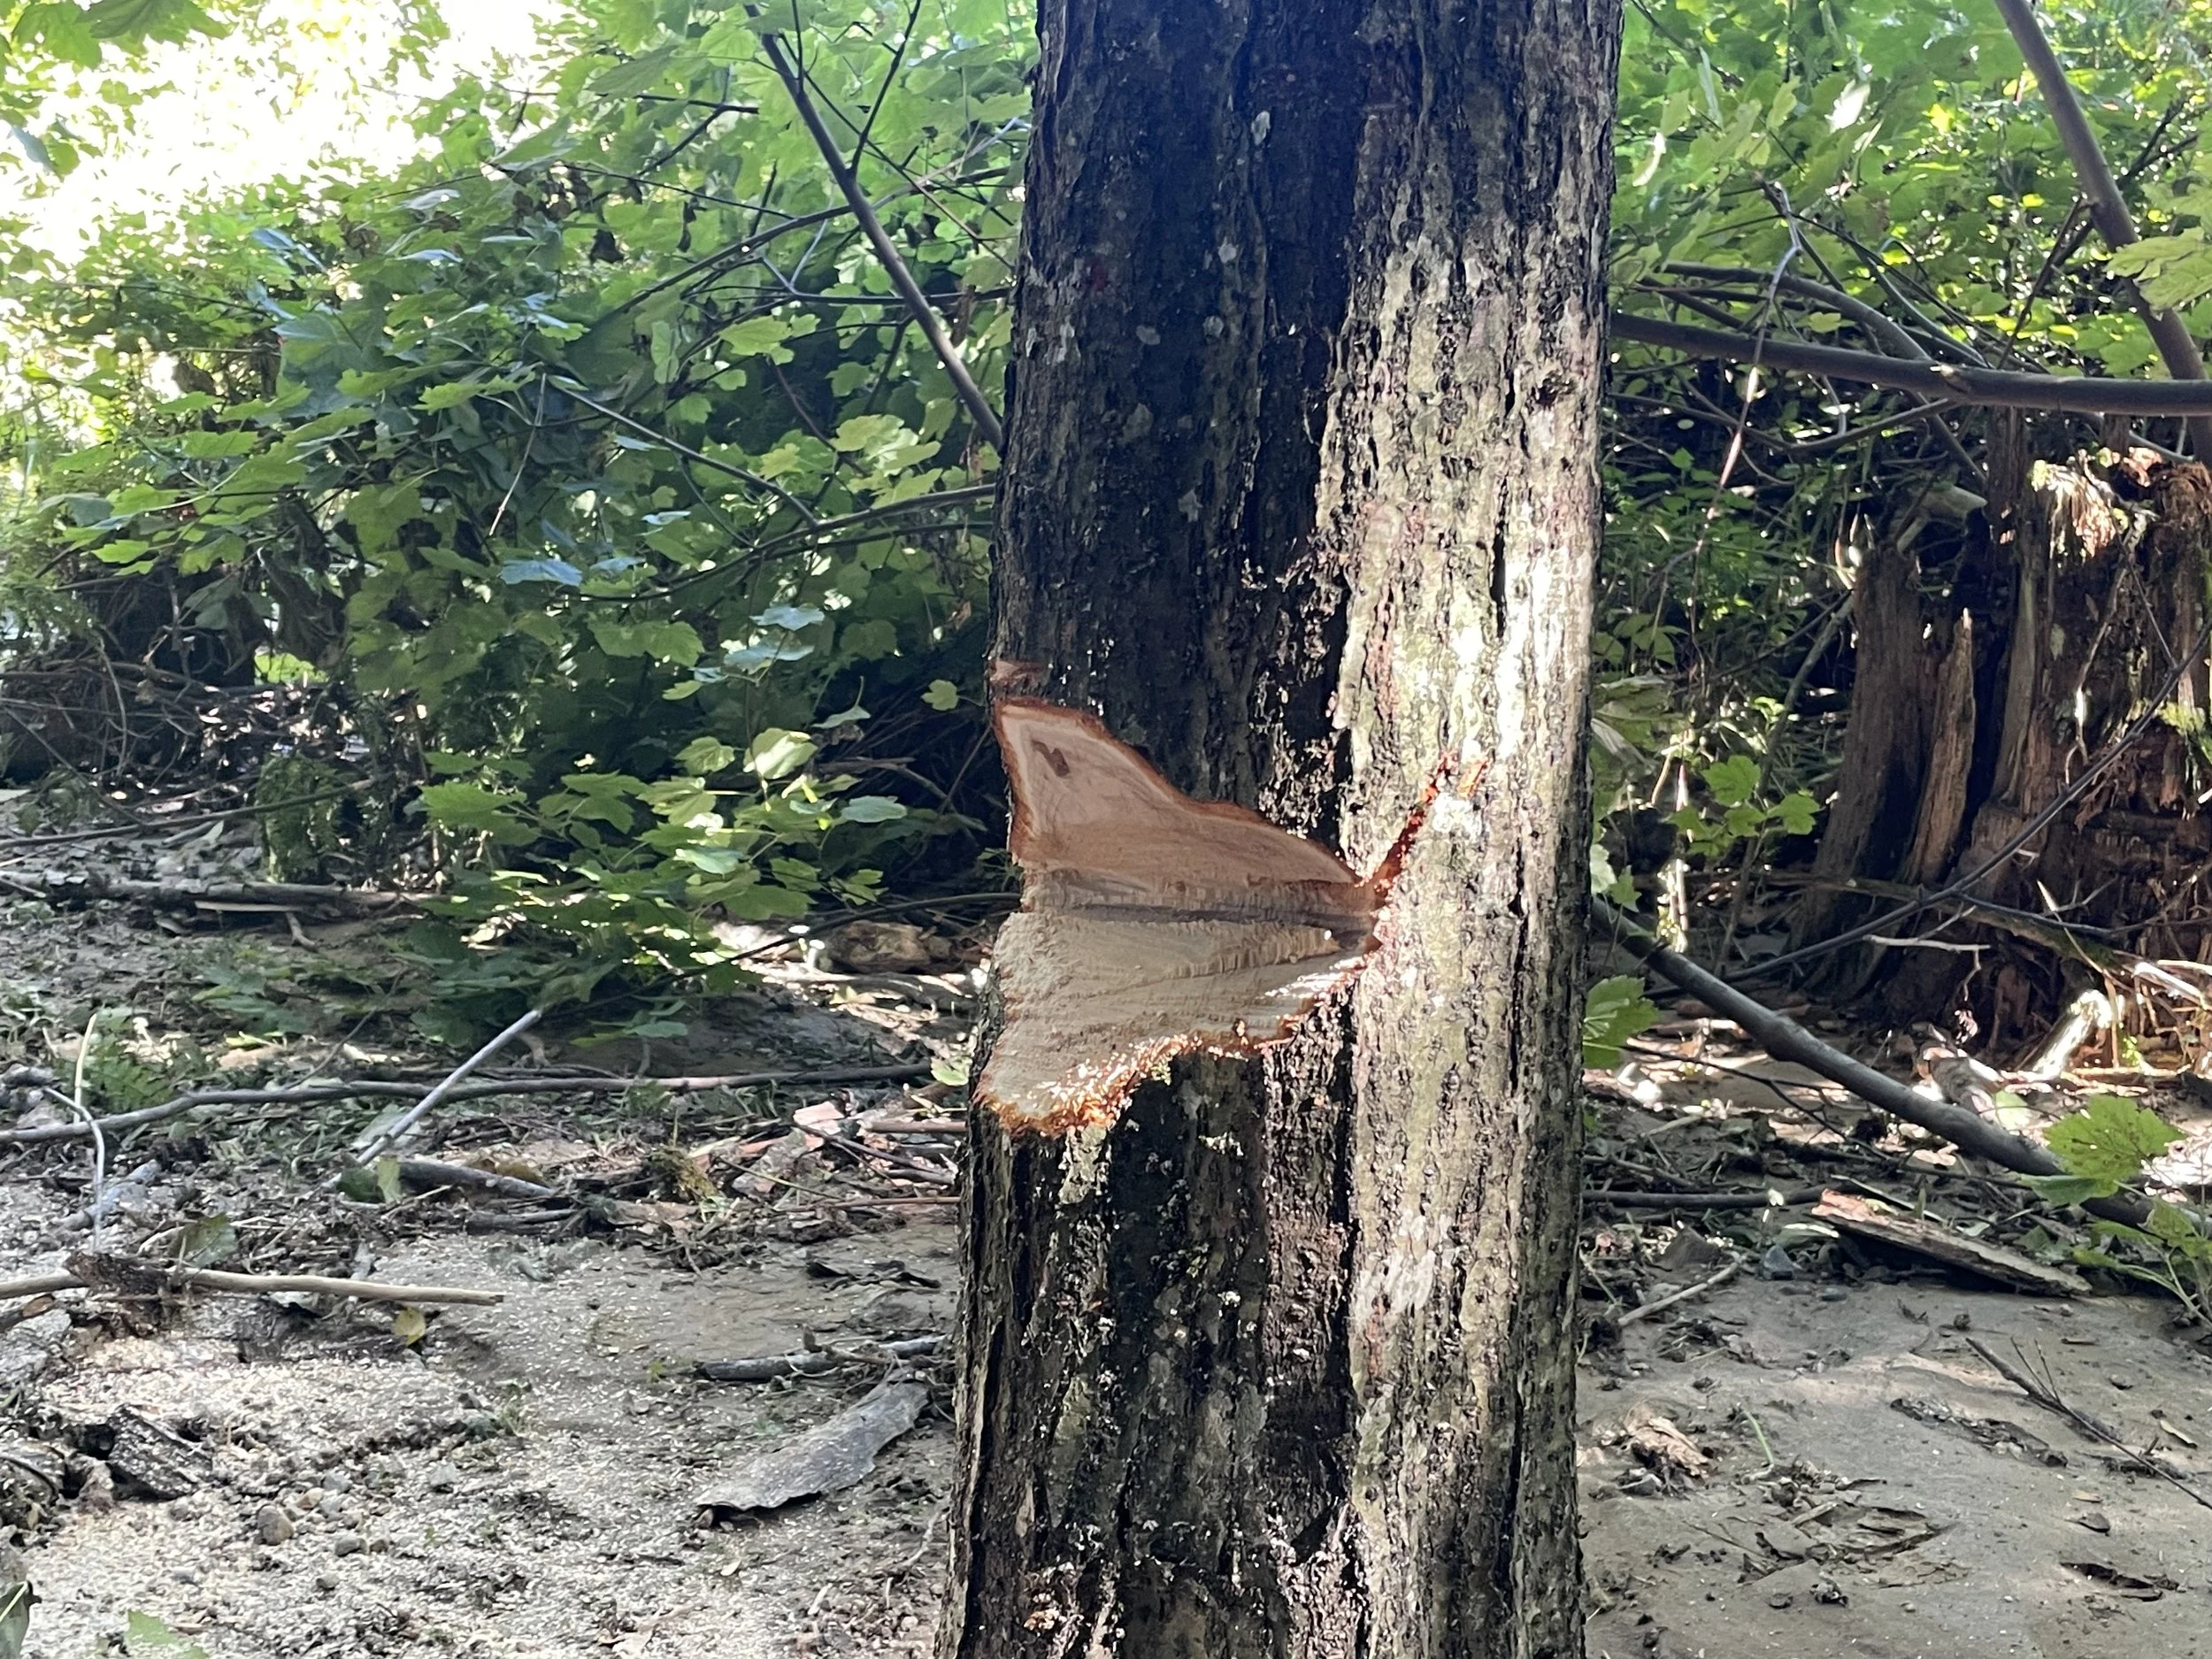
There are three main parts of the cut: the felling notch, the hinge, and the felling cut or back cut.
The felling notch is the angled cut (about 45 degrees) that should take up about one fourth to one third of the tree's diameter.
The hinge is the piece of uncut wood that is in between the felling notch and the back cut. This is important because the hinge helps to guide the tree as it falls. If you have cut too much into your hinge, you could lose control of the falling of your tree.
The felling cut, or back cut, is on the opposite end of the felling notch and is where you would place your wedge if you are using one. This is a horizontal cut that meets up with the hinge.
Once you have made these cuts, your tree is ready to fall! Be sure to use your escape routes as it drops. Trees can roll, kick back, or do some unexpected maneuvers so be sure to be as far away from it as it falls.
Mistakes we’ve learned to avoid
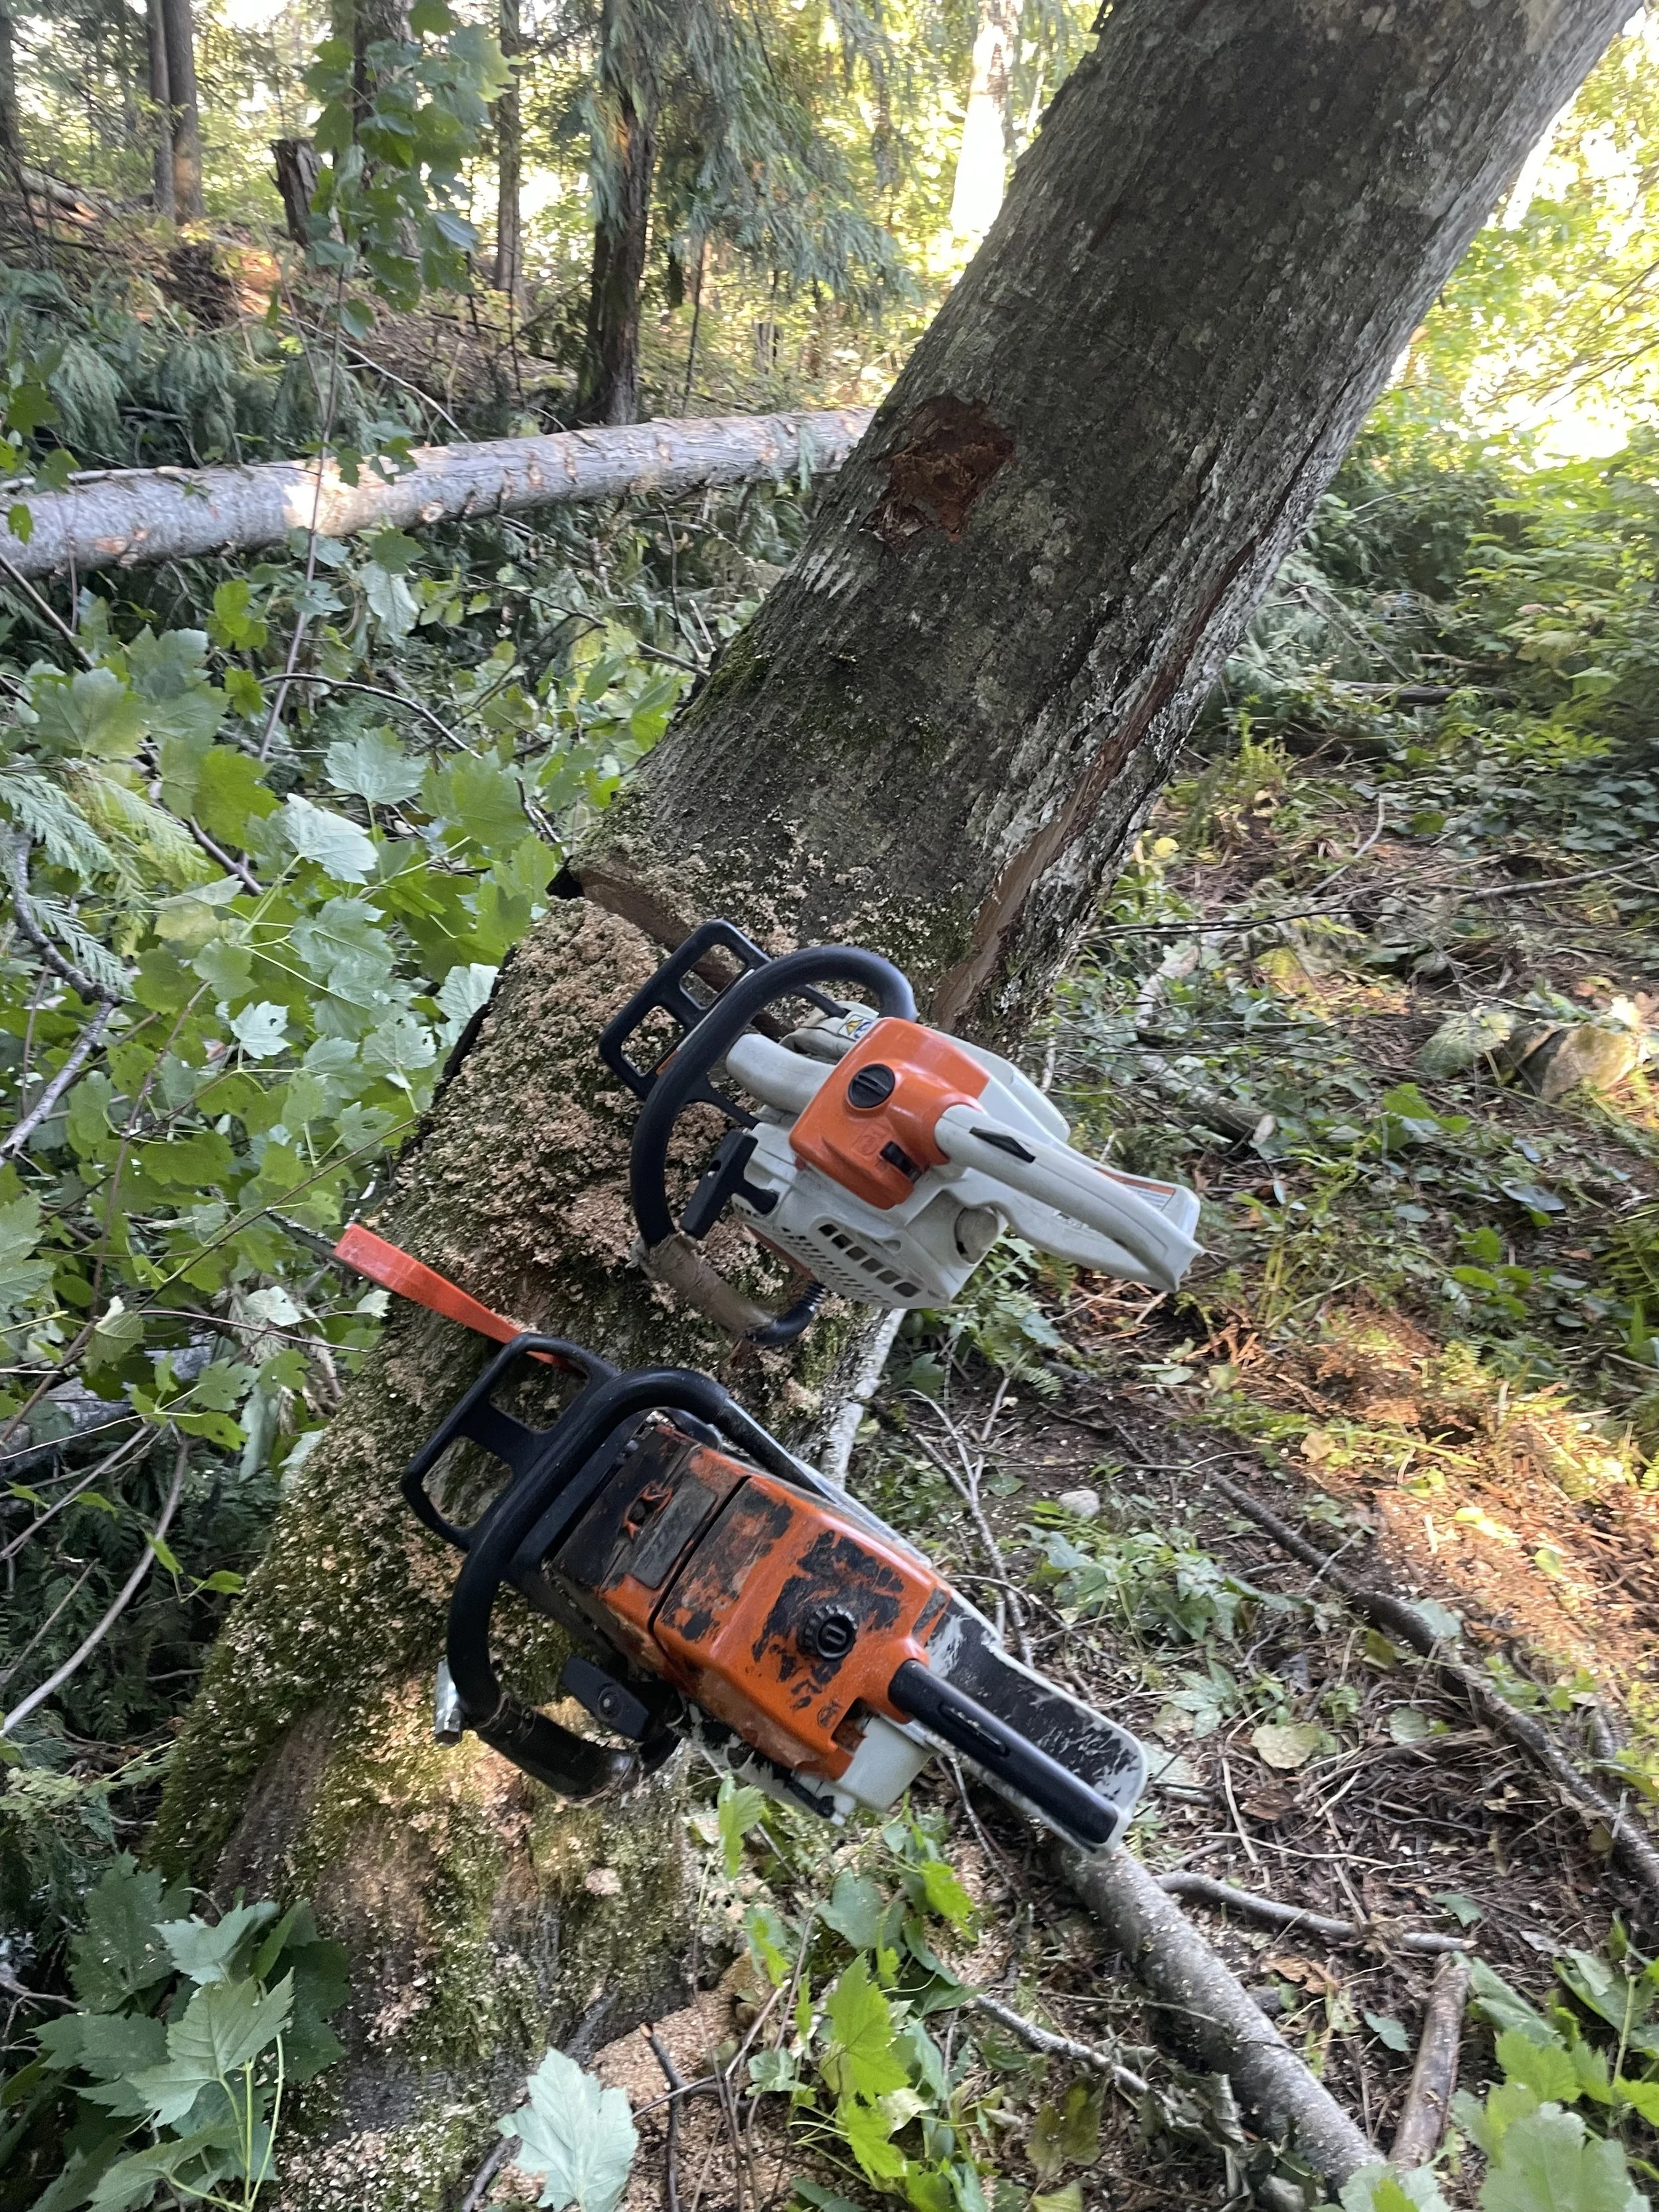
One of our mistakes was assuming that a tree that was leaning heavily to one side would fall in that direction. Because we assumed it would naturally fall after we did our back cut, we didn't bother to do the felling notch and our saw got pinched into the back cut.
At this point the saw wasn't far enough for us to put a wedge in to get our saw out.
Having multiple wedge sizes is another good thing to have on hand because had I had a different size wedge I would have been able to squeeze it in there and get our saw out.
Another tool to have on hand for this kind of predicament is a choker cable. We were able to hook the tree up to the cable and pull it down with our skid steer. The choker cable in this instance was what saved us in helping to get the tree down and the saw out.
Our real mistake was not the fact that we didn't have the right size wedge, rather that we assumed the tree would fall in a specific direction.
The last 6 years have taught us a lot about how to fell, split, and stack our own heat source for the winter. It is very gratifying sitting by the fire knowing all the work that went into harvesting all the wood. Being off-grid up on this mountain has definitely forced us into learning about this sort of skill and has been helpful not only to us, but also to our kids who are helping every season to safely gather enough wood for our homestead.